>>
30-MINUTE MEALS! Get the email series now →


Comforting, cheesy enchiladas filled with seasoned chicken and bathed in a velvety queso blanco sauce—an easy weeknight favorite that feeds the family.
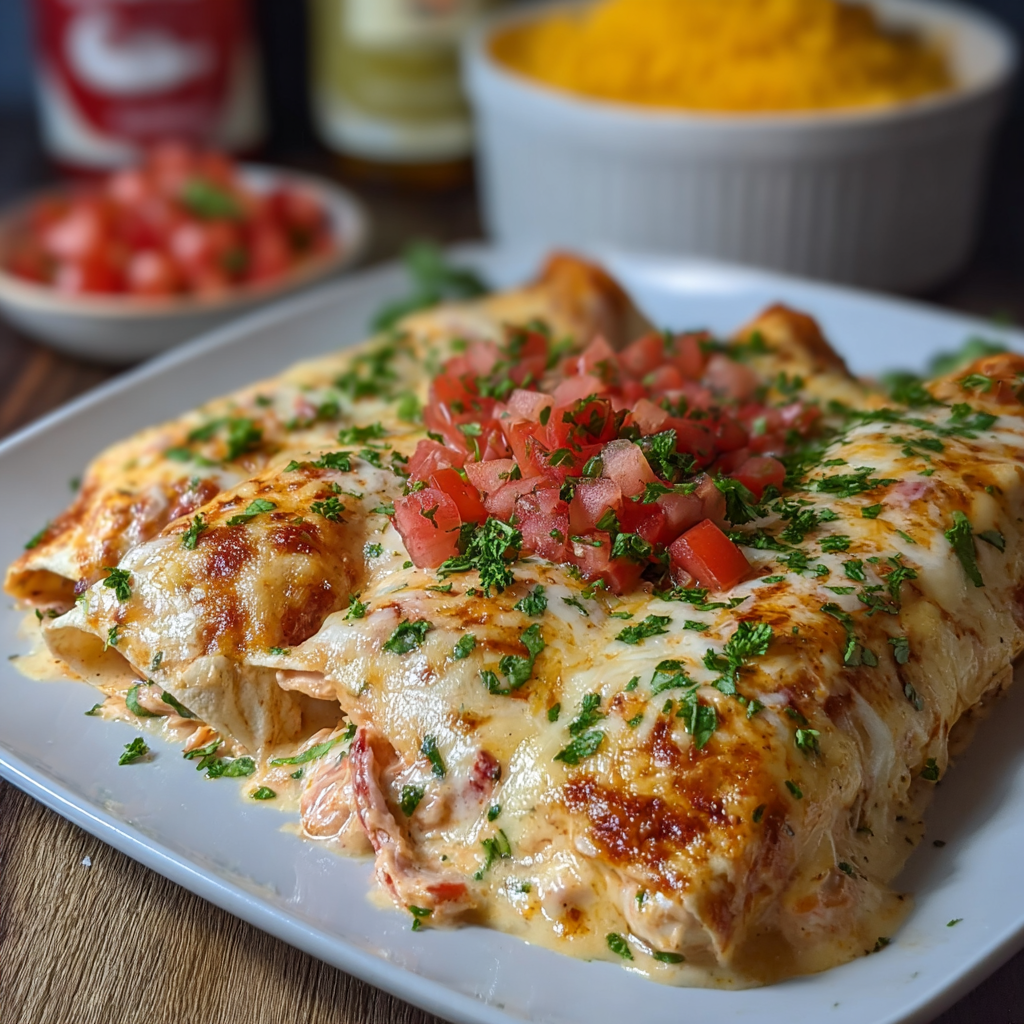
This Queso Chicken Enchiladas Bake has been my ultimate weeknight savior and a guaranteed crowd-pleaser at potlucks. I first riffed on this combination one busy November evening when I needed something fast, forgiving, and wildly satisfying: shredded chicken, a handful of pantry staples, and a pound of Velveeta queso blanco. The result was instantly memorable. The filling is creamy with a tang of sour cream and shredded cheddar for depth, while the warm queso on top adds a smooth, slightly spicy blanket that keeps everything luscious. The tortillas soften as they bake, absorbing flavorful juices, and the finished dish pulls apart in warm, cheesy strands that always have everyone reaching for seconds.
I discovered how versatile this formula is after several tests — swapping leftover rotisserie chicken for shredded chicken thighs, using mild or spicy canned tomatoes depending on company, and adjusting taco seasoning to taste. The texture is what sells it: tender chicken pockets encased in soft flour tortillas with a bubbly, glossy topping. It’s perfect for those nights when you want comfort without a long ingredient list, and it’s especially wonderful when served straight from the oven with a squeeze of fresh lime and a scattering of cilantro. It’s become a weeknight staple and an instant hit at family gatherings.
From my first test batch to the version we make now, this bake has been a revelation. My kids call it "cheesy chicken roll-ups," and neighbors have requested the recipe after one dinner. Because the flavors are straightforward and bold — tangy sour cream, gentle heat from green chilies, smoky cheddar — it tends to please picky eaters while still satisfying grown-up palates.


My favorite aspect is how forgiving the recipe is — a bit more sour cream, a little less taco seasoning, different cheeses or chicken cuts all work with the same joyful outcome. Once I served this at a neighborhood potluck and everyone asked for the recipe; a neighbor even brought extra salsa to pair with it. The dish has earned a reputation for being reliably tasty and simple.
To store, let the bake cool to room temperature (no longer than two hours), then cover tightly with aluminum foil or transfer to an airtight container. Refrigerate for up to 3 days. For longer storage, freeze before baking or after baking: wrap the tray securely with plastic wrap, then foil, and freeze for up to 3 months. Reheat refrigerated portions in a 350°F oven for 12–15 minutes or until hot; frozen portions are best thawed overnight and then reheated the same way. For individual servings, place one enchilada in a ceramic dish covered with foil to maintain moisture while reheating.
If you prefer a lighter version, swap the full-fat sour cream for Greek yogurt at a 1:1 ratio — it will add tang and protein while cutting fat. Use reduced-fat Velveeta or replace with a mix of Monterey Jack and processed melting cheese if you want a less-processed option; expect slightly different melt and texture. For gluten-free diets, use gluten-free tortillas or corn tortillas doubled to prevent tearing (corn will alter mouthfeel and rolling technique). To make it vegetarian, substitute shredded cooked jackfruit or seasoned pinto beans for the chicken and increase the taco seasoning slightly for deeper flavor.
Serve these enchiladas with fresh, contrasting sides: a crisp green salad dressed with lime vinaigrette, cilantro-lime rice, or charred street corn. Garnishes make a big difference — chopped cilantro, diced avocado, pickled red onion, and a squeeze of lime add brightness. For a cooling element, offer a simple cabbage slaw or crunchy jicama sticks. They’re also terrific with a side of warm refried beans or black bean salad for a heartier meal.
Enchiladas are a classic in Mexican and Tex-Mex cuisine, traditionally made with corn tortillas filled and covered in chile sauces. This version leans Tex-Mex, swapping flour tortillas and a creamy queso blanco topping inspired by American melting cheeses like Velveeta. The combination of seasoned shredded meat, canned green chiles, and processed melting cheese is a hallmark of mid-20th-century American adaptations, prized for convenience and comfort. Over time, regional variations have incorporated local cheeses, chilies, and cooking techniques.
In winter, add roasted poblanos or a spoonful of pumpkin puree to the filling for a seasonal twist. In summer, lighten the dish with fresh pico de gallo, grilled corn, and less queso on top so the fresh ingredients can shine. For holiday gatherings, double the recipe and add festive toppings like pickled jalapeños, chopped herbs, and a citrusy crema to brighten the table. The formula is versatile enough to accommodate seasonal produce and holiday menus.
For meal prep, assemble the rolled enchiladas in the casserole dish and store covered in the refrigerator for up to 24 hours; pour the queso over them just before baking so the top stays glossy. Alternatively, assemble and freeze individual enchiladas on a baking sheet, then transfer to a freezer bag; arrange and pour queso over thawed enchiladas before baking. Use portion-sized containers for lunches — reheat in a 350°F oven for 12–15 minutes for best texture. Label with date and contents to track freshness.
Whether you’re feeding a family on a busy weeknight or bringing a dish to share, this Queso Chicken Enchiladas Bake is reliably comforting and adaptable. Give it your personal touches and enjoy the warmth and simplicity it brings to the table.
Warm the tortillas briefly in a dry skillet or microwave wrapped in a damp paper towel to prevent tearing while rolling.
Cube the Velveeta evenly so it melts at the same rate; stir constantly over medium heat to avoid scorching.
If the queso gets too thick, thin with 1–2 tablespoons of milk at a time until pourable; avoid adding too much liquid so it remains glossy.
This nourishing queso chicken enchiladas bake recipe is sure to be a staple in your kitchen. Enjoy every moist, high protein slice — it is perfect for breakfast or as a wholesome snack any time.
Yes — you can assemble the dish a day ahead, cover, and refrigerate. Add the queso and bake when ready, adding 5–10 minutes to the baking time if it’s cold from the fridge.
Freeze the assembled enchiladas (before adding queso) for up to 3 months. Thaw overnight and pour warm queso over before baking.
This Queso Chicken Enchiladas Bake recipe makes perfectly juicy, tender, and flavorful steak every time! Serve with potatoes and a side salad for an unforgettable dinner in under 30 minutes.
In a large bowl, mix shredded chicken, taco seasoning, sour cream, shredded cheddar, and chopped green chilies until evenly combined and spreadable.
Heat cubed queso blanco and the undrained diced tomatoes with green chilies in a saucepan over medium heat, stirring until smooth and glossy; thin with 1–2 tablespoons milk if necessary.
Place 1/2–3/4 cup of filling in the center of each warmed tortilla, roll tightly, and place seam-side down in a 9x13-inch casserole dish.
Pour warm queso over the arranged enchiladas and bake in a preheated 350°F oven for 20–25 minutes until heated through and bubbly.
Let rest 5 minutes after baking so the sauce settles; garnish as desired and serve warm.
Last Step: Please leave a rating and comment letting us know how you liked this recipe! This helps our business to thrive and continue providing free, high-quality recipes for you.
Leave a comment & rating below or tag
@mrcooks on social media!
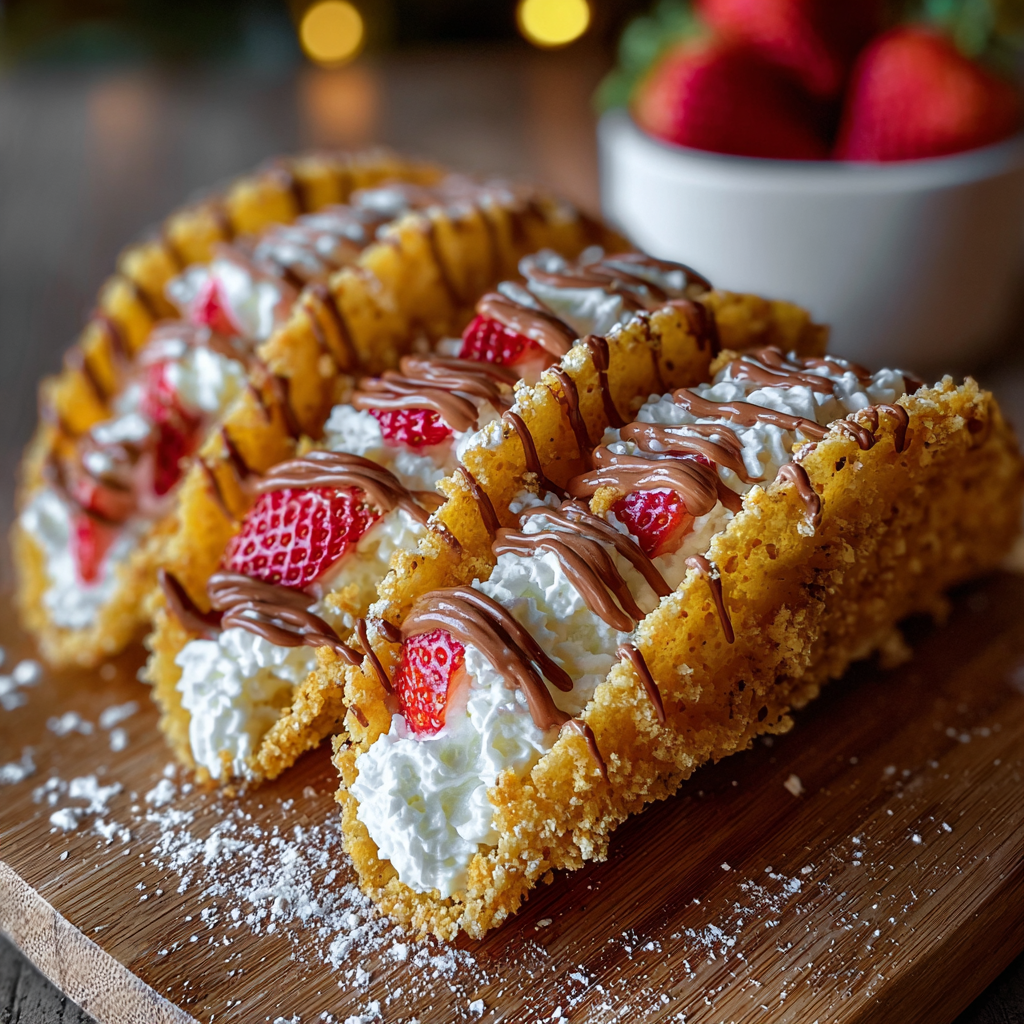
A playful holiday dessert: crisp white chocolate–lined tortilla shells filled with a light, whipped cream cheese filling and finished with graham crumbs, sprinkles and crushed candy cane.

Buttery peanut butter meets crisp cereal and a silky chocolate swirl for an irresistible, easy-to-make bar that everyone will ask for again.
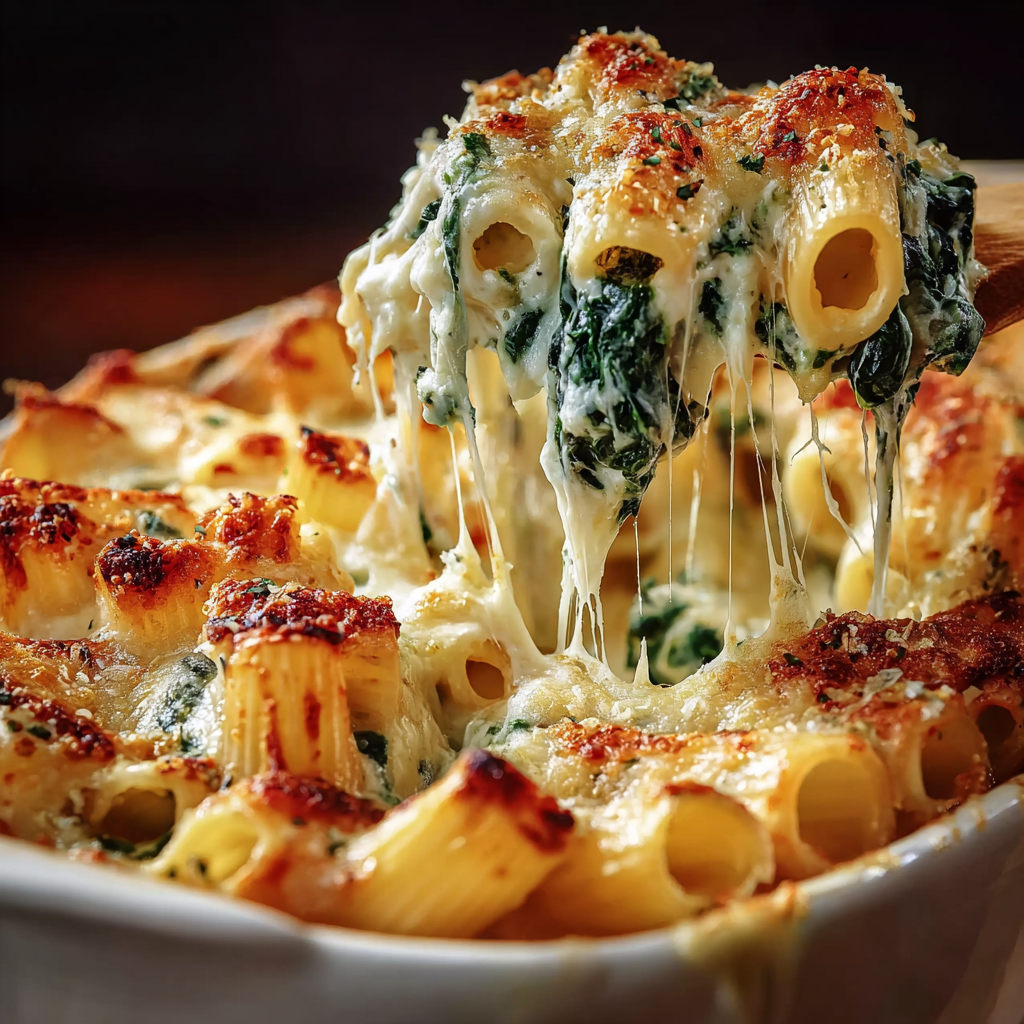
A creamy spinach and ricotta pasta bake topped with bubbling mozzarella and a bright tomato sauce. Simple pantry ingredients come together for a comforting yet elegant family meal.
Leave a comment & rating below or tag @mrcooks on social media!
Enjoyed this recipe? Share it with friends and family, and don't forget to leave a review!
This recipe looks amazing! Can't wait to try it.
Comments are stored locally in your browser. Server comments are displayed alongside your local comments.

Join to receive our email series which contains a round-up of some of our quick and easy family favorite recipes.