>>
30-MINUTE MEALS! Get the email series now →


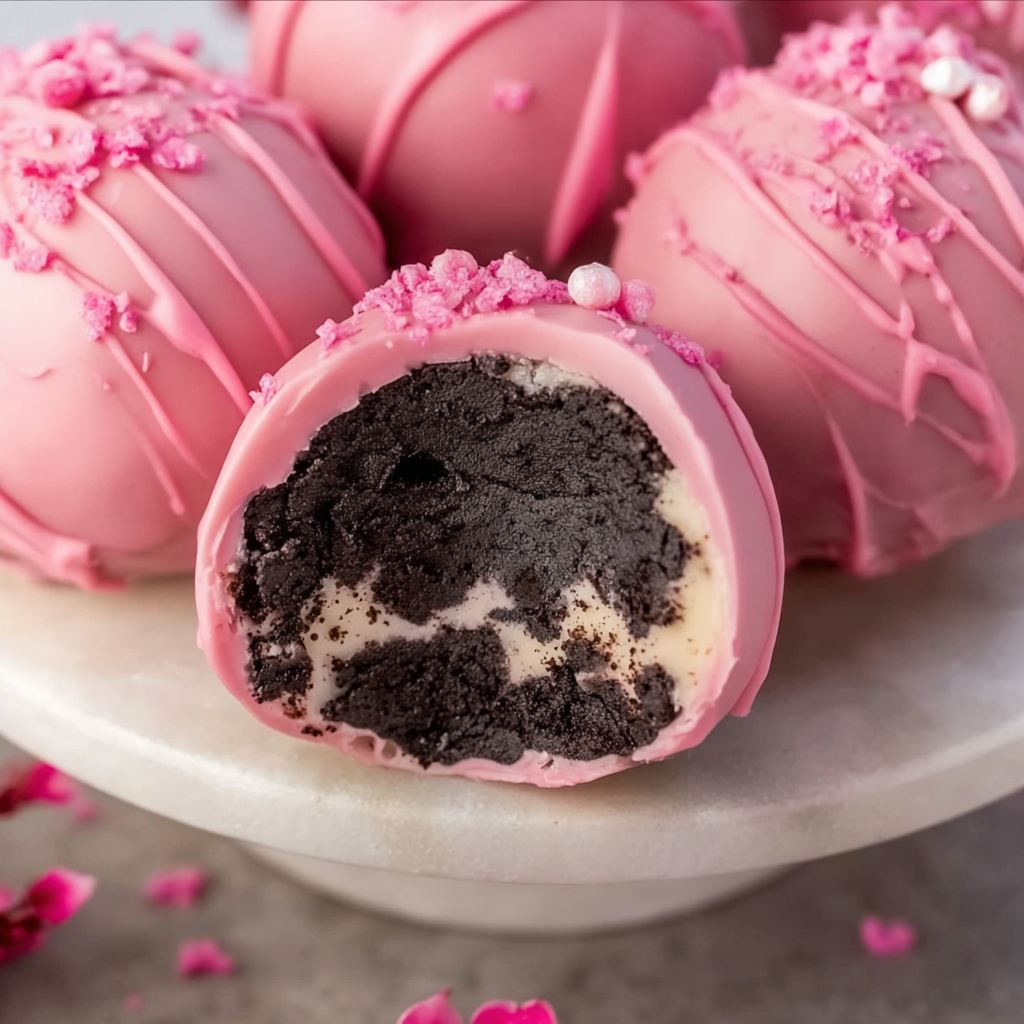
Creamy Oreo filling rolled into bite sized truffles, dipped in glossy pink candy coating and finished with festive sprinkles. No baking required and perfect for parties.

This recipe for Oreo truffle balls with pink candy coating has long been my go to when I need a quick and festive treat. I first made these during a chilly February evening when I wanted something sweet for a small gathering and did not want to turn on the oven. The result is a poppable, cream filled center that is rich and silky surrounded by a glossy candy shell. The contrast of the crunchy crumble and creamy cheese with the snap of the coating gives a playful texture that people always remark on.
I discovered the combination by adapting a childhood favorite into small shaped bites for entertaining. The bright pink coating made them an instant hit at a family party, where even the most picky eaters reached for seconds. These truffles are especially great for gifting, for a last minute dessert, or for themed parties where color matters. They store well and travel easily, so I often bring them to potlucks and school events.
When I made these for a Valentine gathering my niece declared them the best candy she had ever eaten, and my partner asked me to leave a few at home instead of bringing all of them to the party. The simple method hides the sophistication of the final bite which tastes like a homemade bonbon but with very little fuss.
My favorite aspect of these treats is how forgiving the process is. Small imperfections in coating or shape do not impact flavor, and variations in color or sprinkle patterns let you personalize them for every holiday. Once I made a batch in a rush and they still received compliments for their smooth texture and pretty finish.
Store the truffles flat in a single layer in an airtight container separated by parchment paper. Keep them refrigerated for best texture and flavor for up to 10 days. For longer storage freeze them in a single layer until solid then transfer to a freezer safe container for up to three months. When ready to enjoy move them to the refrigerator to thaw slowly for several hours to avoid condensation that can dull the candy coating. Avoid room temperature storage for long periods as the centers will soften and the coating may bloom.
If you need to avoid gluten choose certified gluten free sandwich cookies and ensure the sprinkles are gluten free. For a dairy free option use a dairy free block style cream cheese and dairy free candy melts. If you prefer a less sweet center reduce or omit the optional powdered sugar and use white chocolate coating instead of colored melts. To add depth stir a quarter teaspoon of vanilla extract or a tablespoon of nut butter into the center mixture but be aware this will change the texture and may require slight chilling before rolling.

Arrange the truffles on a small decorative plate for parties or place them in mini paper liners for individual serving. They pair nicely with a cup of strong coffee, black tea or a dessert wine for an elegant finish. For a festive display arrange different colored coatings together with matching sprinkles to create a themed platter. These are also excellent tucked into small gift boxes for neighbors or as a party favor when labeled with the event date.
The technique is inspired by classic European bonbon methods where a soft center is enrobed in a hard shell. Using sandwich cookie crumbs combined with cream cheese became popular in home kitchens as a no bake alternative to traditional truffles. This modern adaptation blends convenience with pastry style and has become a staple at many home gatherings for its simplicity and the tactile pleasure of crafting small confections.
Change the color of the coating and the sprinkle mix to match seasons and holidays. For spring use pastel colors and flower shaped sprinkles. In autumn use warm shades and edible metallic dust for a richer look. For winter holidays choose red green and gold combinations. You can also add a teaspoon of cooled brewed espresso to the filling for a grown up twist suitable for adult gatherings.
One memorable batch was made for a neighborhood bake sale and sold out within an hour. A friend used this method to make baby shower favors with pale blue coating and tiny edible pearls and received many messages asking for the recipe. At a recent family movie night I made a trio of colors and watched as guests sampled each and debated which was best. The consistent feedback is that texture and presentation win people over.
Prepare the filling up to two days ahead and keep it refrigerated. Form the balls and freeze them on the baking sheet before transferring to a sealed container for storage. When ready to dip, thaw briefly in the refrigerator then proceed with melting and coating. Working with a frozen firm center makes dipping faster and prevents the centers from collapsing. Keep a small bowl of warm water handy to quickly rinse utensils if the coating thickens during the process.
These truffles are a joyful, simple way to bring color and sweetness to any gathering. Make a batch, experiment with colors, and share them with people you love. They always bring smiles and make celebrations feel a little more special.
Chill the rolled centers well before dipping to prevent them from collapsing under warm coating.
Use a small cookie scoop to keep all truffles the same size for even setting and neat presentation.
Add one tablespoon of coconut oil to candy melts to improve flow and give a glossy finish.
If coating thickens, microwave in 10 second bursts and stir thoroughly before continuing.
This nourishing oreo truffle balls with pink candy coating recipe is sure to be a staple in your kitchen. Enjoy every moist, high protein slice — it is perfect for breakfast or as a wholesome snack any time.
This Oreo Truffle Balls with Pink Candy Coating recipe makes perfectly juicy, tender, and flavorful steak every time! Serve with potatoes and a side salad for an unforgettable dinner in under 30 minutes.
Place the cookies in a food processor and pulse until fine crumbs form. If no processor is available crush inside a sealed bag with a rolling pin until fine. Transfer crumbs to a bowl and add softened cream cheese and optional powdered sugar. Mix until a uniform dough forms. Chill briefly if mixture feels too soft to roll.
Line a baking sheet with parchment and use a small scoop or tablespoon to portion one inch balls. Roll between your palms for a smooth finish and place on the sheet about one inch apart. Freeze for 20 to 30 minutes until firm to the touch so they hold shape when dipped.
Combine candy melts and oil in a microwave safe bowl. Heat in 30 second intervals stirring between each until smooth. Allow to cool until warm but not hot to avoid softening the centers during dipping.
Use a fork or dipping tool to lower each chilled ball into the melted coating. Turn to fully cover then lift and tap to remove excess. Place on parchment and add sprinkles immediately while coating is wet. Work quickly but gently to maintain shape.
Chill the coated truffles in the refrigerator for 10 to 15 minutes until the coating is firm. Store in an airtight container separated with parchment at refrigeration temperatures up to 10 days. For longer storage freeze for up to three months and thaw in the refrigerator before serving.
Last Step: Please leave a rating and comment letting us know how you liked this recipe! This helps our business to thrive and continue providing free, high-quality recipes for you.
Leave a comment & rating below or tag
@mrcooks on social media!
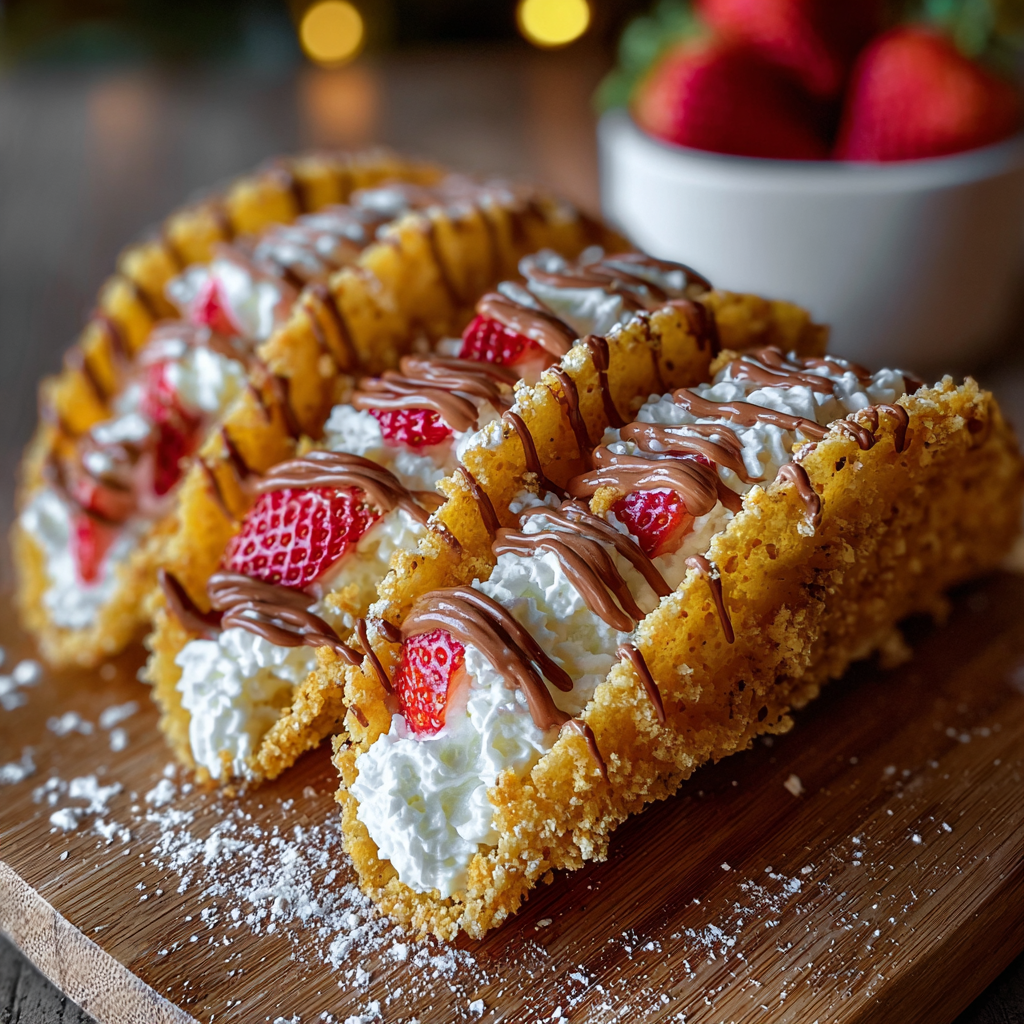
A playful holiday dessert: crisp white chocolate–lined tortilla shells filled with a light, whipped cream cheese filling and finished with graham crumbs, sprinkles and crushed candy cane.
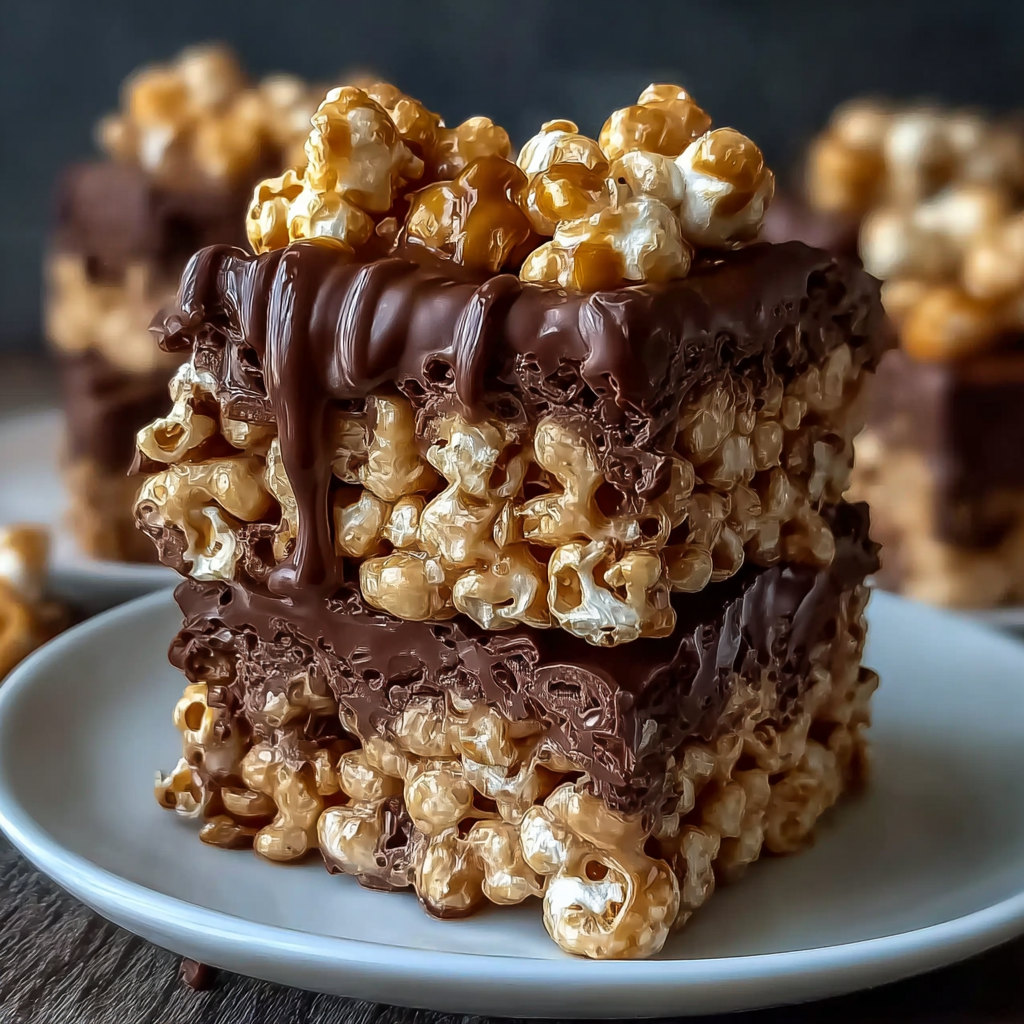
Buttery peanut butter meets crisp cereal and a silky chocolate swirl for an irresistible, easy-to-make bar that everyone will ask for again.
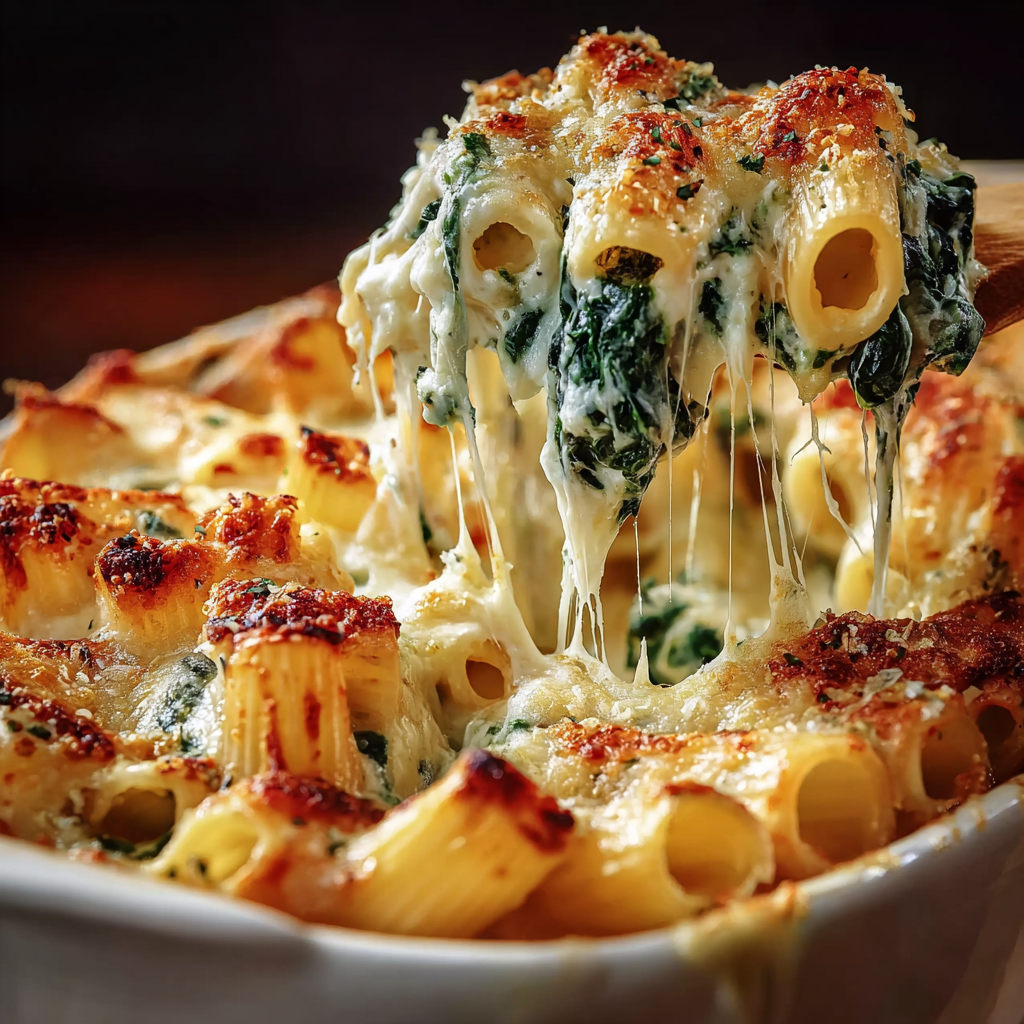
A creamy spinach and ricotta pasta bake topped with bubbling mozzarella and a bright tomato sauce. Simple pantry ingredients come together for a comforting yet elegant family meal.
Leave a comment & rating below or tag @mrcooks on social media!
Enjoyed this recipe? Share it with friends and family, and don't forget to leave a review!
This recipe looks amazing! Can't wait to try it.
Comments are stored locally in your browser. Server comments are displayed alongside your local comments.

Join to receive our email series which contains a round-up of some of our quick and easy family favorite recipes.