>>
30-MINUTE MEALS! Get the email series now →


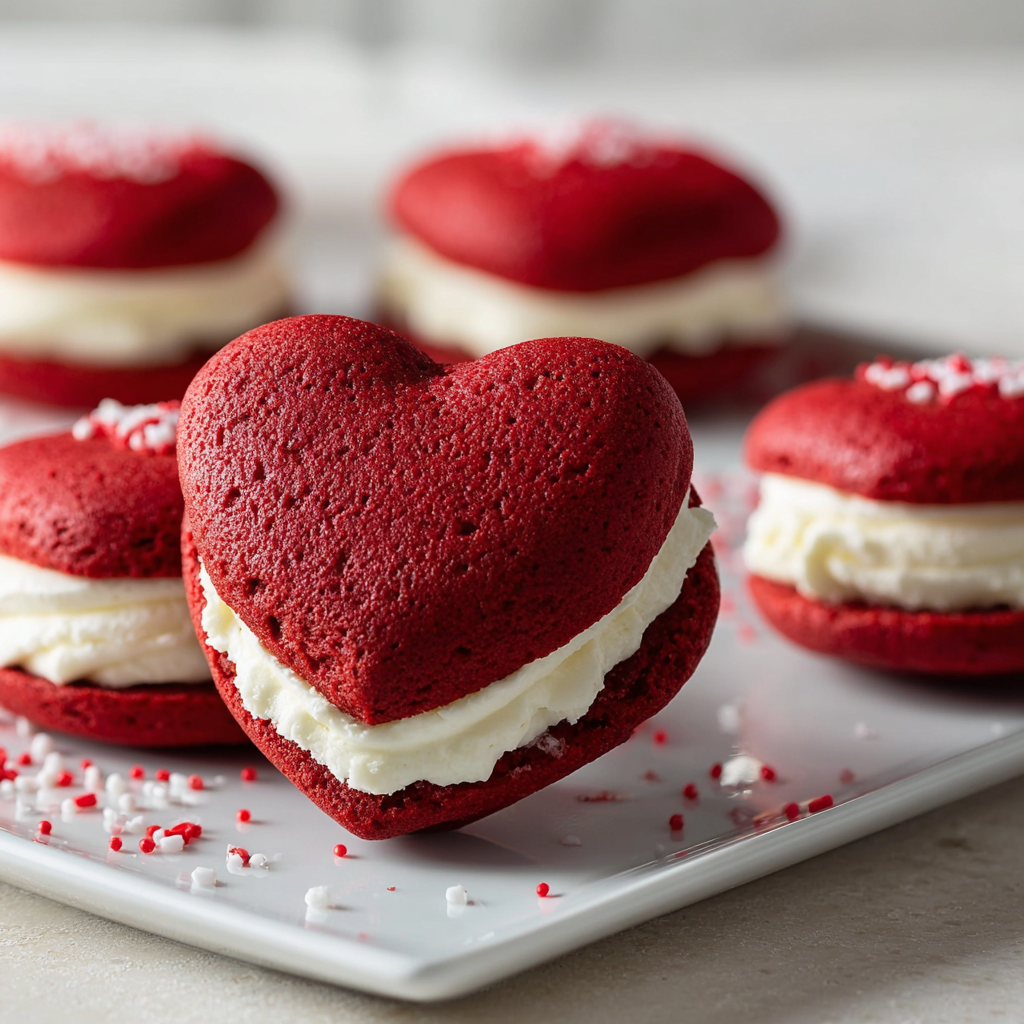
Tender heart-shaped red velvet cakes sandwiched with silky cream cheese filling — a sweet, nostalgic treat perfect for celebrations and cozy afternoons.
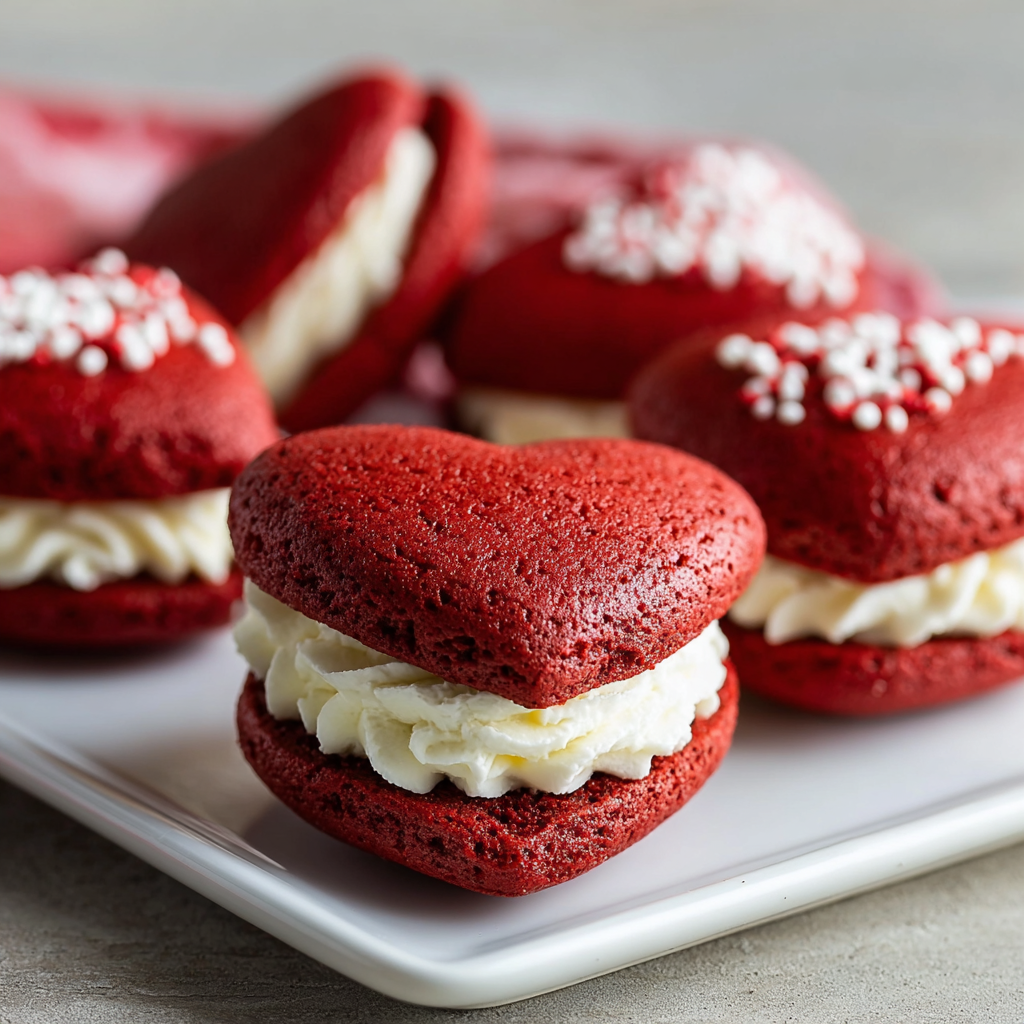
This recipe for heart-shaped red velvet whoopie pies has become my go-to when I want something that says celebration and comfort at the same time. I first discovered this combination on a chilly February afternoon when I wanted to surprise my partner with a homemade Valentine's treat that didn't require complicated decorating. The result was so tender and richly flavored that it immediately joined our short list of festive favorites. Each bite balances a soft cocoa-tinged cake with tangy, smooth filling — the contrast in texture is the real star.
I love how forgiving the batter is: even on busy weeknights you can pull these together without a fuss, and piping the heart shapes becomes a little ritual that is oddly calming. The cakes bake quickly and remain moist, while the filling is creamy and lightly sweet — not cloying. Friends and family always ask for the recipe, and the heart shape makes them memorable at birthdays, baby showers, and holiday gatherings. On top of that, they travel well, freeze beautifully, and feel a little bit special without a lot of extra effort.
When I first served these, my usually picky aunt declared them the best thing she’d tasted all week. My partner loved the moist crumb and the silky filling so much that we spent the rest of the evening dreaming up other shapes to try. There’s a satisfying calm that comes from piping the hearts one by one — it’s a small act of care that shows when you hand someone a finished sandwich.
 Make the Cream Cheese Filling:
Beat 1 cup softened full-fat cream cheese with 1/2 cup softened unsalted butter until smooth and silky. Gradually add 3 cups powdered sugar, beating on low until incorporated, then on medium speed until light and fluffy — about 2–3 minutes. Stir in 1 tsp vanilla extract. If the filling is too soft, chill for 15–20 minutes to firm before piping.
Assemble the Sandwiches:
Turn half of the cooled hearts over so the flat sides face up. Pipe a generous dollop of filling onto each flat side (about 2 tablespoons), then top with another heart, flat side down, pressing gently to spread the filling to the edges. Wipe any excess filling for a neat finish.
Store or Serve:
Store in an airtight container in the refrigerator for up to 3 days. For longer keeping, freeze assembled sandwiches layered between parchment for up to 3 months; thaw in the refrigerator overnight before serving.
Make the Cream Cheese Filling:
Beat 1 cup softened full-fat cream cheese with 1/2 cup softened unsalted butter until smooth and silky. Gradually add 3 cups powdered sugar, beating on low until incorporated, then on medium speed until light and fluffy — about 2–3 minutes. Stir in 1 tsp vanilla extract. If the filling is too soft, chill for 15–20 minutes to firm before piping.
Assemble the Sandwiches:
Turn half of the cooled hearts over so the flat sides face up. Pipe a generous dollop of filling onto each flat side (about 2 tablespoons), then top with another heart, flat side down, pressing gently to spread the filling to the edges. Wipe any excess filling for a neat finish.
Store or Serve:
Store in an airtight container in the refrigerator for up to 3 days. For longer keeping, freeze assembled sandwiches layered between parchment for up to 3 months; thaw in the refrigerator overnight before serving.

My favorite aspect is how reliably these bring joy: a simple heart shape transforms the mood of a table, and the recipe has been requested for birthdays and small celebrations. A reader once wrote that these were the only thing to make her mother smile during a difficult week — those stories are the reason I share recipes like this. The gentle tang of the filling and the tender crumb somehow manage both nostalgia and novelty.
Store assembled sandwiches in an airtight container in the refrigerator for up to 3 days. To freeze, place sandwiches in a single layer on a baking sheet until firm, then stack with parchment between each and place in a freezer-safe bag for up to 3 months. Thaw overnight in the refrigerator before serving. If storing unassembled, keep cakes and filling separately; the cakes can be frozen for up to 2 months and the filling refrigerated for 3 days. Use tight-sealing containers to prevent absorption of other fridge odors.
If you don’t have buttermilk, make a substitute by adding 1 tablespoon lemon juice or white vinegar to 1 cup milk and let sit 5 minutes. For a dairy-free version, replace butter with a dairy-free spread and use dairy-free cream cheese, but note texture and flavor will be a bit different. To reduce sugar in the filling slightly, start with 2 1/2 cups powdered sugar and taste as you go. For a deeper chocolate note, swap the 1 tablespoon natural cocoa for 1 tablespoon Dutch-process, but you may need to adjust the acid to maintain color and lift.
Serve chilled or at cool room temperature with a dusting of powdered sugar or a small drizzle of melted dark chocolate for contrast. They pair beautifully with a cup of strong coffee, black tea, or a creamy latte. For a party platter, arrange with fresh berries and edible flowers to highlight the heart shapes. These are ideal for dessert boxes, afternoon teas, and gifts — tie a ribbon around a stack for a charming presentation.
The sandwich-style treat is rooted in American home baking traditions, often associated with New England and the Northeast where soft sandwich cakes were popularized as portable treats. Red velvet itself became famous in American baking lore for its distinctive color and subtle cocoa flavor, with cake variations appearing in home kitchens and bakeries throughout the 20th century. Turning them into heart shapes nods to festive and romantic gifting traditions while keeping the recipe nostalgically simple.
In winter, add a pinch of cinnamon and replace half the vanilla with a teaspoon of orange zest for a cozy twist. For spring, fold a tablespoon of crushed freeze-dried strawberries into the filling for a bright flavor and pink flecks. Around autumn holidays, swap red food coloring for a cacao-forward batter and use a maple-cream cheese filling. These small swaps let you lean into the season without changing technique.
Make the cakes and filling a day ahead: cool cakes completely, cover, and refrigerate; store filling chilled in an airtight container. Assemble just before serving for the freshest texture, or assemble and refrigerate for up to three days to save time on the day of your event. Use disposable piping bags when gifting for easier cleanup and a consistent portion size.
These heart-shaped sandwiches are simple to make, joyful to share, and adaptable to many occasions. Try them once and you’ll find reasons to make them again — holidays, celebrations, or just because someone deserves a small, homemade smile. From my kitchen at mister cooks to yours, enjoy the process and the people you share them with.
Bring butter, egg, and buttermilk to room temperature before mixing for a smoother, more even batter.
Pipe hearts onto parchment placed on a baking sheet for uniform shapes and quick cleanup.
If the filling is too soft to pipe, chill it for 15–20 minutes to firm up before assembling.
Avoid overmixing after adding flour — stop when the last streak disappears to keep cakes tender.
Rotate baking sheets halfway through baking for even color and doneness.
This nourishing heart-shaped red velvet whoopie pies recipe is sure to be a staple in your kitchen. Enjoy every moist, high protein slice — it is perfect for breakfast or as a wholesome snack any time.
Yes — assemble and freeze individually wrapped for up to 3 months. Thaw overnight in the refrigerator.
Use a zip-top bag with the corner snipped if you don't have a piping bag; practice piping hearts on spare parchment first.
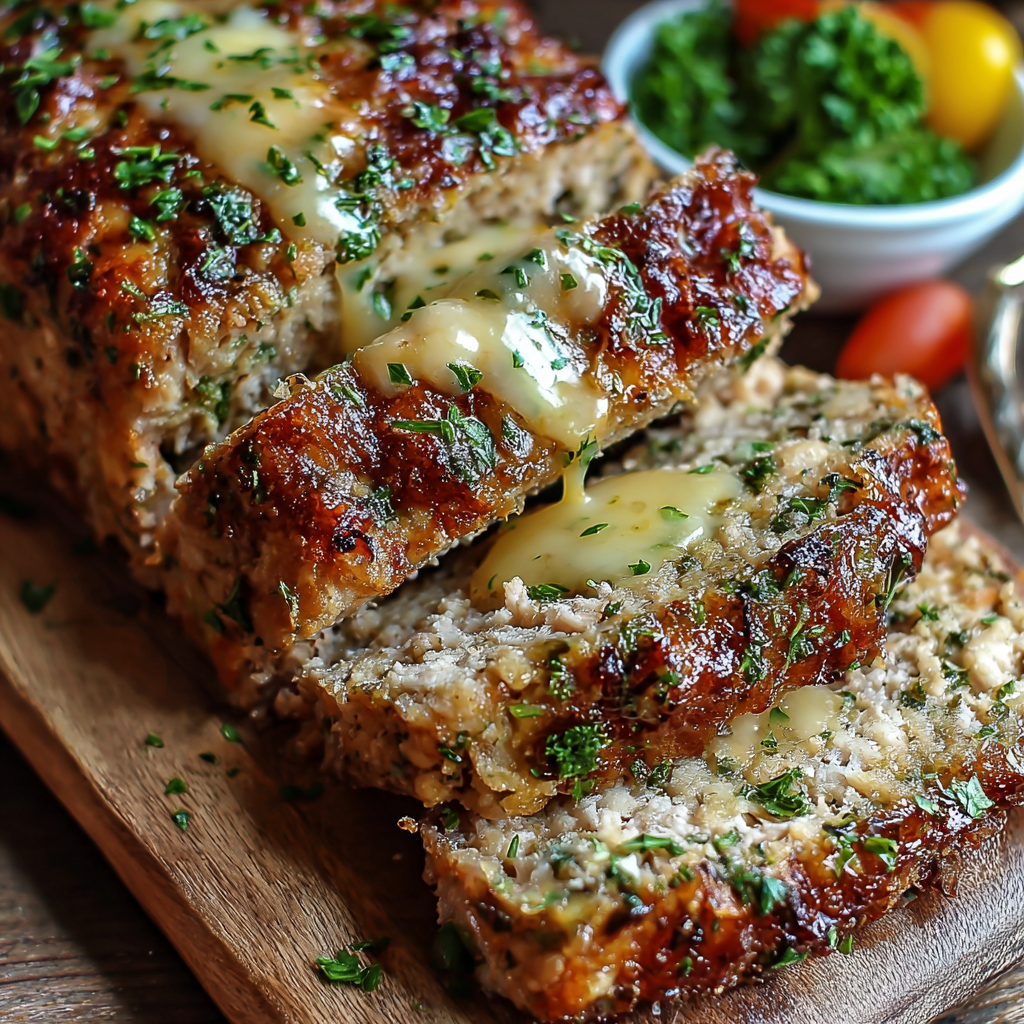
This Heart-Shaped Red Velvet Whoopie Pies recipe makes perfectly juicy, tender, and flavorful steak every time! Serve with potatoes and a side salad for an unforgettable dinner in under 30 minutes.
Preheat oven to 350°F (175°C). Line two baking sheets with parchment paper and position racks in the center of the oven.
Whisk together flour, baking soda, cocoa powder, and salt in a bowl to ensure even distribution of leavening.
Beat softened butter and granulated sugar until light and fluffy, about 3 minutes, to incorporate air for a tender crumb.
Mix in egg, buttermilk, vinegar, vanilla, and red food coloring until smooth and homogenous.
Fold dry ingredients into wet on low speed until just combined, taking care not to overmix to keep cakes tender.
Pipe 1 1/2–2 inch heart shapes onto parchment using a piping bag or zip-top bag with corner snipped; space about 1 inch apart.
Bake for 10–12 minutes until cakes spring back when gently pressed and a toothpick shows a few moist crumbs; cool on a rack.
Beat cream cheese and butter until smooth, then gradually add powdered sugar and beat until light and fluffy; add vanilla.
Pipe filling onto the flat side of half the cakes, top with remaining cakes and press gently to spread filling evenly to the edges.
Store in an airtight container in the refrigerator up to 3 days or freeze wrapped for up to 3 months; thaw in the refrigerator.
Last Step: Please leave a rating and comment letting us know how you liked this recipe! This helps our business to thrive and continue providing free, high-quality recipes for you.
Leave a comment & rating below or tag
@mrcooks on social media!
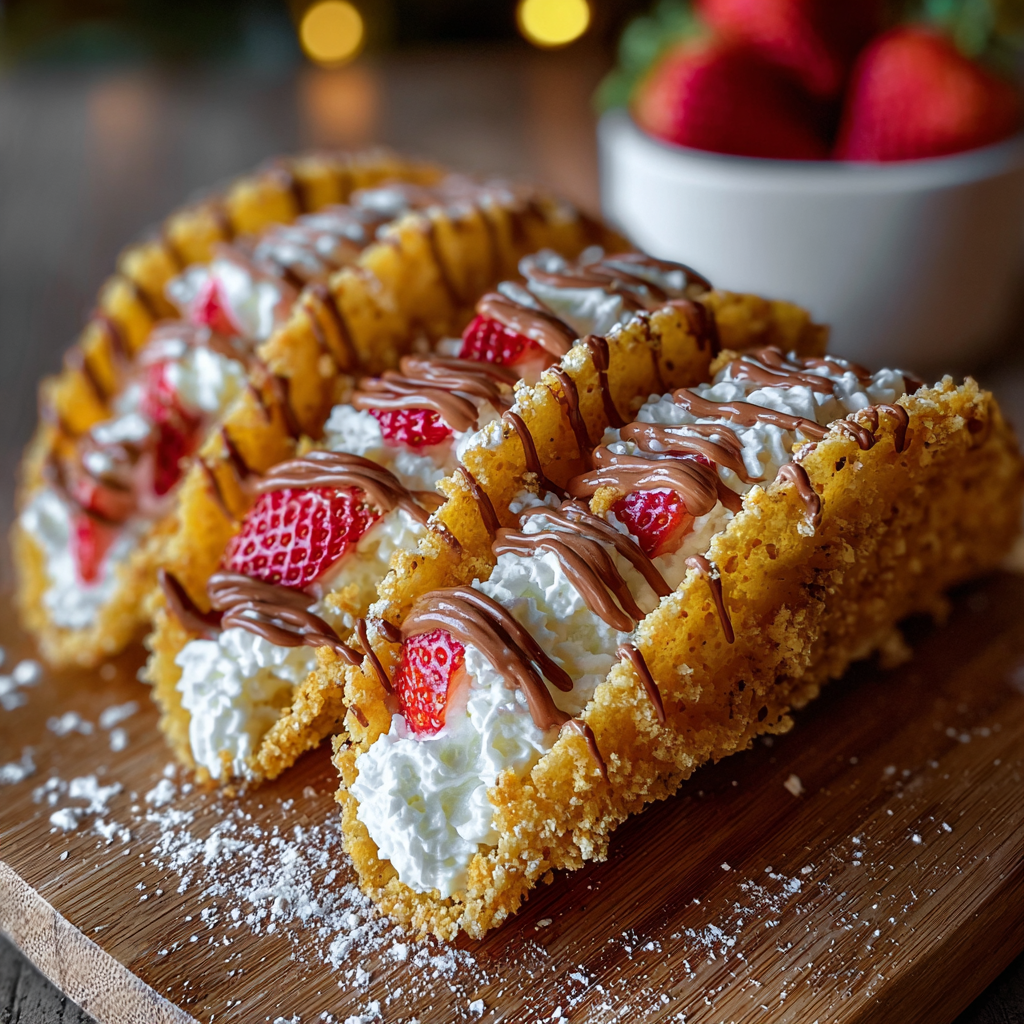
A playful holiday dessert: crisp white chocolate–lined tortilla shells filled with a light, whipped cream cheese filling and finished with graham crumbs, sprinkles and crushed candy cane.
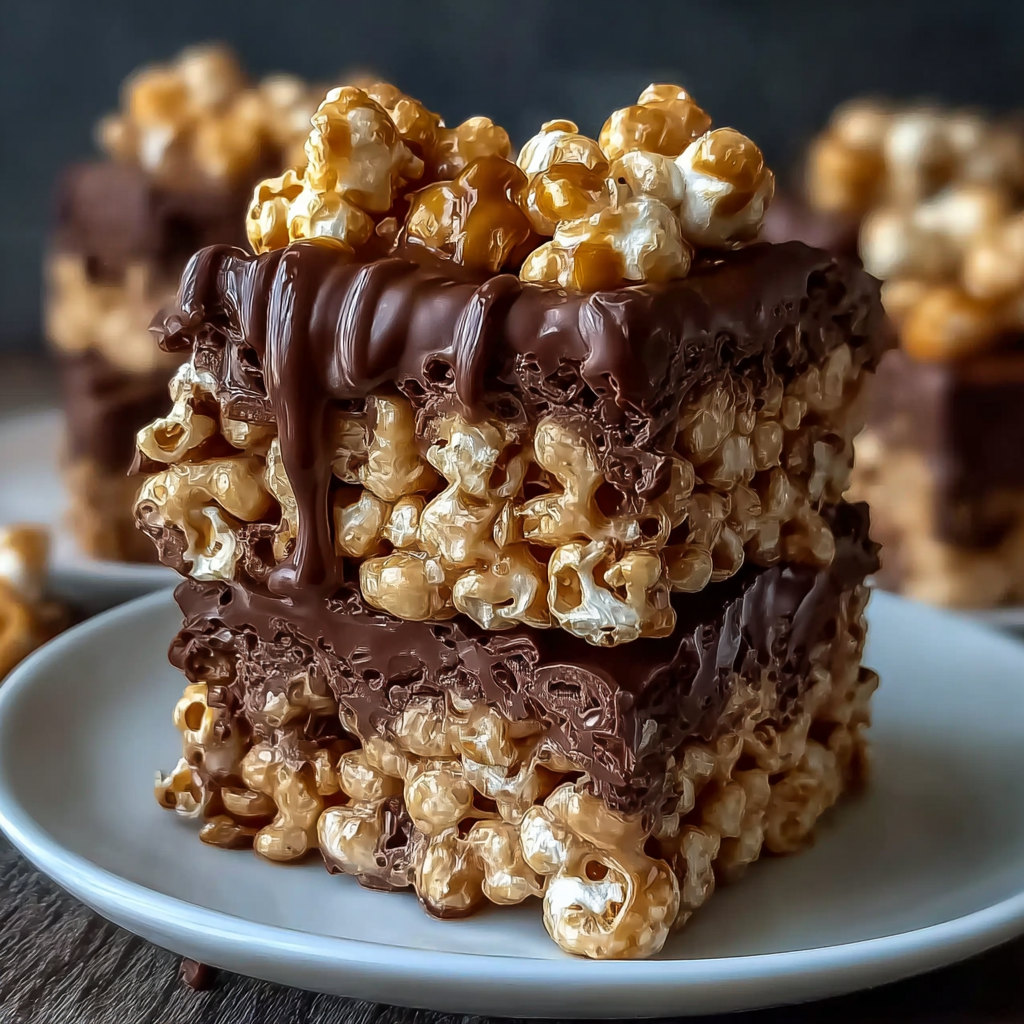
Buttery peanut butter meets crisp cereal and a silky chocolate swirl for an irresistible, easy-to-make bar that everyone will ask for again.
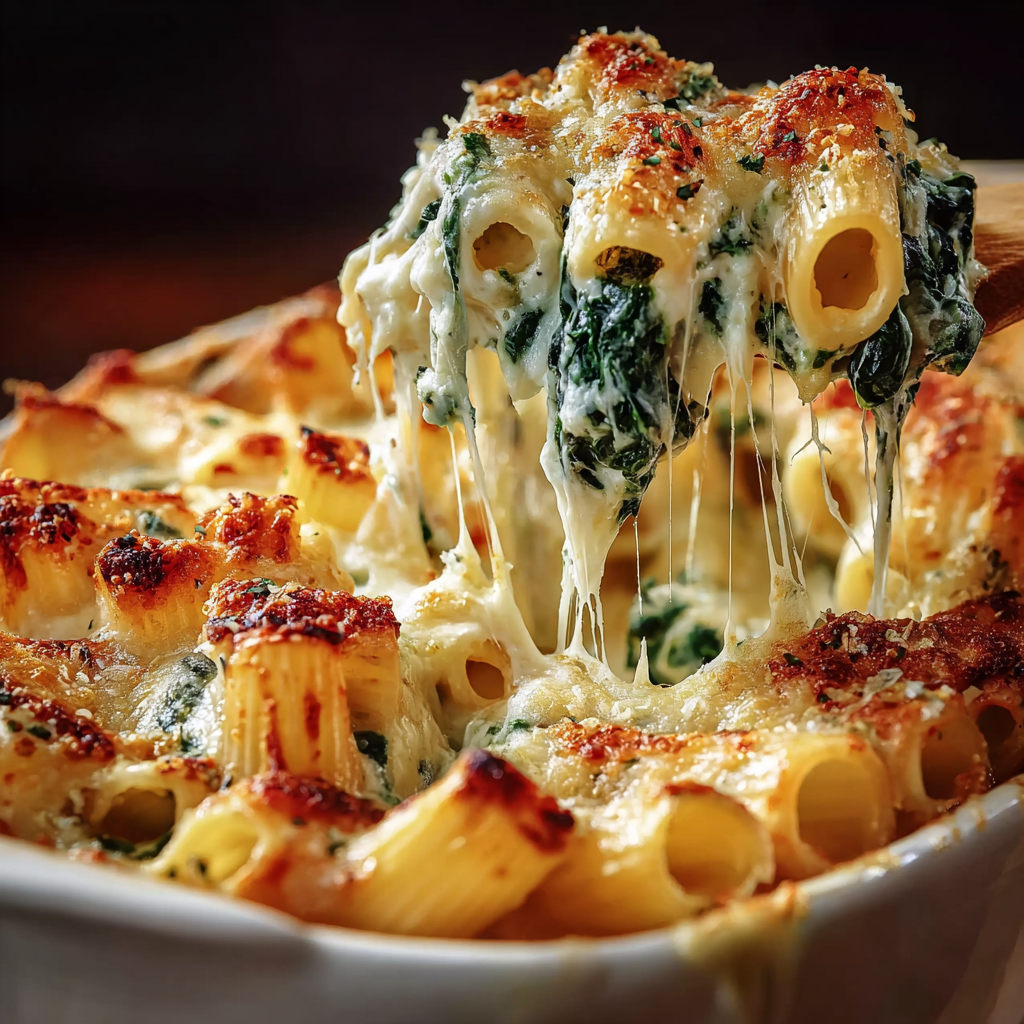
A creamy spinach and ricotta pasta bake topped with bubbling mozzarella and a bright tomato sauce. Simple pantry ingredients come together for a comforting yet elegant family meal.
Leave a comment & rating below or tag @mrcooks on social media!
Enjoyed this recipe? Share it with friends and family, and don't forget to leave a review!
This recipe looks amazing! Can't wait to try it.
Comments are stored locally in your browser. Server comments are displayed alongside your local comments.

Join to receive our email series which contains a round-up of some of our quick and easy family favorite recipes.